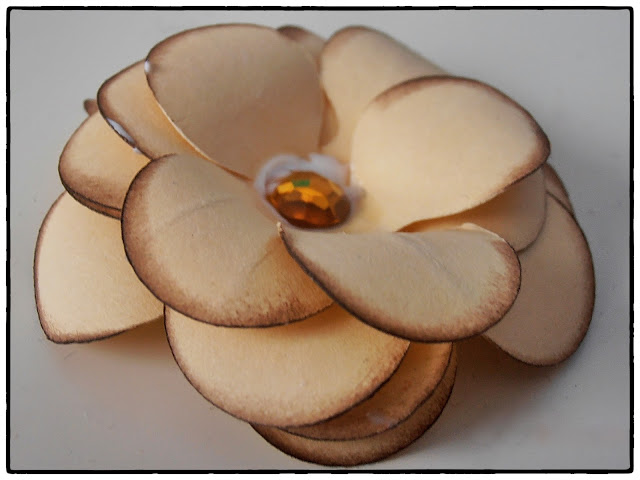
Have I ever told you that I love flowers and that I'll always create flower decorations, accessories etc.?
Okay, now you know :)
Yesterday while I was crafting I thought of doing my own paper flowers. And I created some of them. They're easy to do with a nice effect!
First I show you one of my little blooms and than I'll try to explain how to do.
For the flower above I was using 4 pieces of punched* paper flowers in this
Okay, now you know :)
Yesterday while I was crafting I thought of doing my own paper flowers. And I created some of them. They're easy to do with a nice effect!
First I show you one of my little blooms and than I'll try to explain how to do.
 |
| I'm sorry for the glue spots. It's a very fresh pic ;) but in the end the glue will dry crystal clear! |
Next step is to make a cut from the edge to the center point. I've done this with 2 of my flowers. When you now overlap the first and the last leave you'll have a lovely round flower shape with 4 leaves. Don't forget to fix them with some adhesive!!
Now it's time to fix this two 4-leave-flowers onto one with 5 leaves - now a lovely blossom exists :))
The last step is to cut the fifth flower into 5 single leaves and to glue them in the center of the paper flower. I use liquid glue here.
As a finish I like to put a gem stone or button into the middle. That's it!
If you change the shape, size and colors of your flower you can create tons of lovely blossoms!!!!
Materials needed:
- Paper
- ink color
- embossing pen
- adhesive and glue
- gem stones or buttons
- puncher, shape cutting machine
Try it out and let me know about your experiences!
B*
*if you don't have a puncher or shape cutting machine, you can also draw one flower and use it as a template to cut with scissors. I'm sure you'll find such a shape also in the internet for free :)

Keine Kommentare:
Kommentar veröffentlichen